Embed Chatbot
Embedding a Chatbot in GTWY: Add Your AI Agent Anywhere Instantly
If you want your AI to live inside your product — not just inside GTWY — the Embedded Chatbot feature is exactly what you need.
With a single script, you can place your GTWY-powered chatbot into any website, dashboard, or application.
No rebuilding. No extra configuration. No backend setup.
Your existing prompts, tools, logic, and workflows move with it — instantly.
What Is an Embedded Chatbot?
An embedded chatbot is your GTWY agent placed directly into any external application or web page. It uses the same configuration, prompt, and tools as defined in your GTWY workspace — meaning you don’t have to recreate anything.
Once embedded, users can interact with your AI assistant in real time, just like they would inside GTWY — but now seamlessly integrated within your own environment.
This is ideal for support portals, internal dashboards, customer onboarding pages, or any product where you want real-time AI assistance available instantly.
Step 1: Generate a JWT Embed Token
To securely embed your chatbot, you need an access token that authenticates your organization and chatbot instance.
Use the following JSON structure as the payload:
{
  "org_id": "YOUR_ORG_ID",
  "chatbot_id": "YOUR_CHATBOT_ID",
  "variables": {
    // Add any key-value pairs here
  }
Then:
Click on your Access Key inside GTWY.
Use that key to sign the payload above.
Generate your JWT embed token — this will authenticate the chatbot securely when it’s loaded in your website.
Step 2: Add the Embed Script to Your Website
Now that you have your embed token, it’s time to place the chatbot in your product.
Copy and paste the following script where you want it to appear in your HTML:
<script
  id="chatbot-main-script"
  embedToken="ENTER_YOUR_EMBED_TOKEN"
  src="https://chatbot-embed.viasocket.com/chatbot-prod.js">
</script>
Once added, your chatbot will load automatically and appear as an interactive widget inside your product UI.
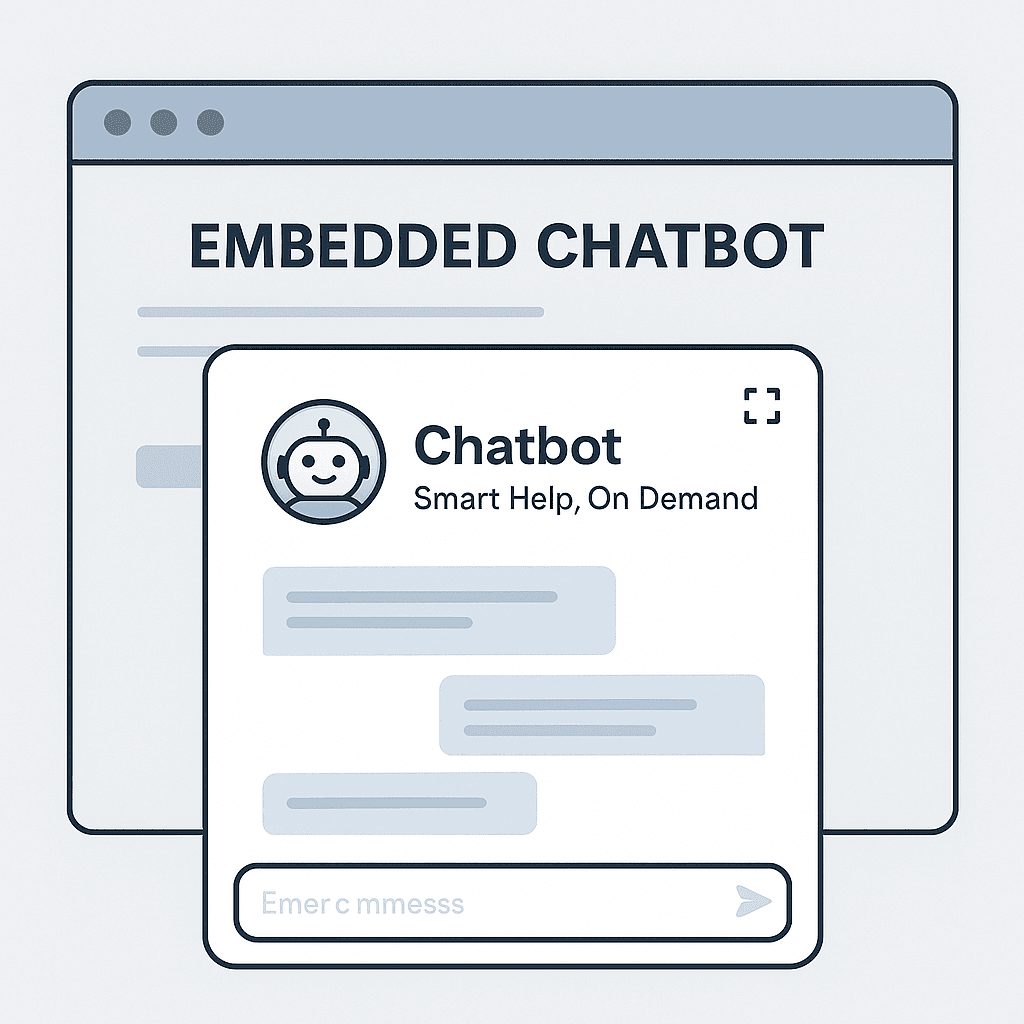
Example Appearance:
Header: “Chatbot”
Subtitle: “Smart Help, On Demand”
Controls: Fullscreen toggle and close icon
The chatbot fits naturally into your interface, providing a seamless in-app experience for users.
Step 3: Advanced Integration (Send and Receive Data)
If you want your chatbot to interact dynamically with your app — for example, to send or receive live data — GTWY provides simple JavaScript functions to make that possible.
📥 Listen for Incoming Messages
You can listen to messages sent from the chatbot:
window.addEventListener('message', (event) => {
  const receivedData = event.data;
  // Handle chatbot response data here
});
📤 Send Data into the Chatbot
You can also send variables or context directly into the chatbot:
window.SendDataToChatbot({
  bridgeName: "<slugName_of_bridge>",
  threadId: "<thread_id>",
  parentId: "<container_id>", // optional
  fullScreen: false,
  hideCloseButton: false,
  hideIcon: false,
  variables: {
    // Any dynamic data
  }
});
Parameter Reference
Parameter | Type | Description | Required |
|---|---|---|---|
| string | The slug name of your deployed agent | ✅ |
| string | Unique conversation identifier | ✅ |
| string | ID of the container to render chatbot inside | ❌ |
| boolean | Opens chatbot in full screen mode | ❌ |
| boolean | Hides the close (X) button | ❌ |
| boolean | Hides the launcher icon | ❌ |
| object | Additional data passed to the chatbot | ❌ |
Extra Controls
To give your users more control, you can manually open or close the chatbot using JavaScript:
Open Chatbot:
window.openChatbot();Close Chatbot:
window.closeChatbot();Final Result
With one embed script and a secure token, your chatbot becomes part of your platform — responding to users, automating tasks, and delivering AI-powered help directly inside your product.
It’s fast, seamless, and plug-and-play.
GTWY gives you the power of full AI integration in minutes, not months.